Corno Piccolo
| Route: | "La Madonnina" - Rifugio Franchetti - Sella dei Due Corni - start of "via normale" - summit of Corno Piccolo (2,655 m) (and back) | ||
| Grade: | EX | Time: | 3.5 - 5 hours (excluding breaks) |
| Total ascent / descent: | 812 m / 812 m | Distance: | 7.40 km |
| Highest point: | Corno Piccolo, 2,655 m | Lowest point: | "La Madonnina", 2,007 m |
| Waymarks: | The walk is waymarked with red-and-white marks on rocks and/or the ground. | ||
| Paper maps: | 
 | ||
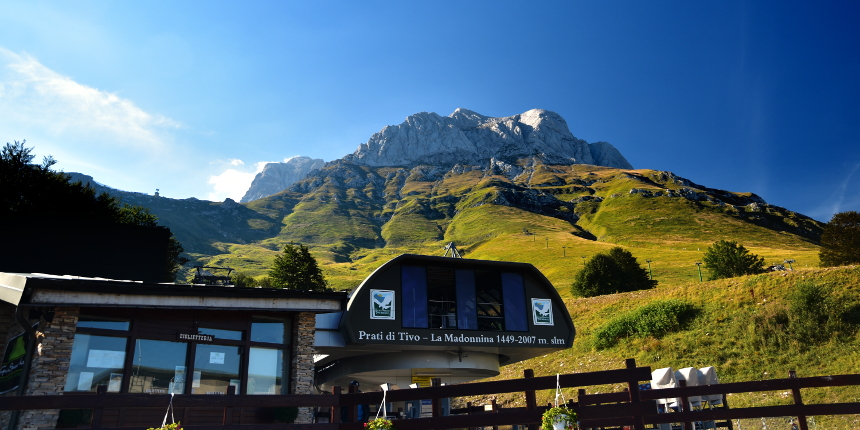
| Access: | The walk starts from the arrival point of the "La Madonnina" cable car. The cable car station is located at Prati di Tivo, at 1,432 metres above sea level. Exit the A24 autostrada from the "Basciano - Villa Vomano" junction and follow the signs to "Prati di Tivo" (34.6 km from the junction, about 45 minutes). For the cable car, you will need a two-way ticket (€15). | ||
General description
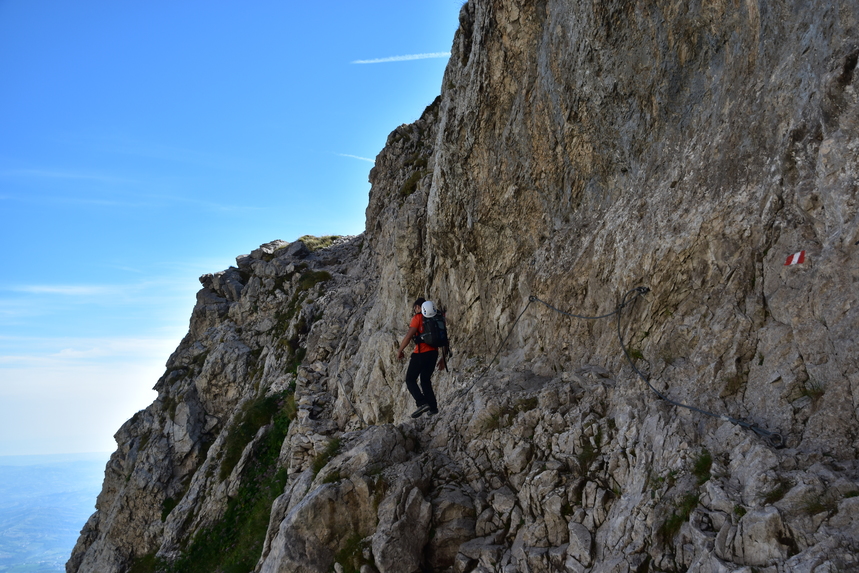
This is the shortest but, possibly, the most challenging - and therefore fun! - walk on this site. Corno Piccolo ("Little Horn") may not have Corno Grande's allure of being the highest summit in the Apennines, but, once you've ticked that particular box, you'll definitely want to come here for a more authentic (and far less crowded!) mountain experience. You'll do some nice and not too difficult scrambling, but you do need a good head for heights and confidence walking on this kind of terrain. Thanks to the solidity of its rock, Corno Piccolo is also a favourite area for climbers, and you're likely to spot a few human spiders one one of its many routes as you walk up from Rifugio Franchetti. Given that the rifugio is roughly half-way (and that you'll go there twice), the urgency to bring plenty of water with you is less than in some of the other walks on this site.
Detailed description
Stage 1: from "La Madonnina" to the Rifugio Franchetti (1 hour - 1 and ½ hours)
Take the cable car at Prati di Tivo. From there you can see Corno Piccolo direcly above (fig. 0). From the arrival of the cable car (named "La Madonnina" after a statue of the Virgin Mary nearby) start walking uphill on the evident path. Both 'horns' (Corno Grande and Corno Piccolo) of the Gran Sasso form a stunning view that will keep you mesmerized (fig. 1).
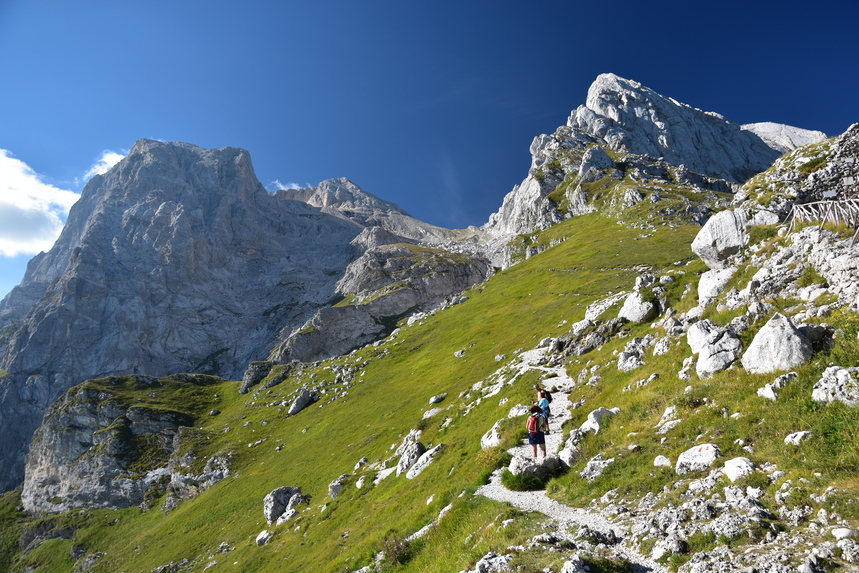
You will also be able to see the southern section of the range and, on a clear day, the Adriatic Sea. After only a few minutes, you will get to a point where a smaller path leads off to the right - make sure you stay on the main path, as the smaller one leads to the "Ventricini" via ferrata which you will encounter again later at its opposite end. After about 20 minutes you will get to a natual arch formed by two boulders resting on each other. A further few minutes on, there is a slightly more difficult (but very short) passage, with a steel cable to help you walk past it easily (fig. 2). The path steepens a bit when it winds its way up to reach the Rifugio.
Stage 2: from the Rifugio Franchetti to the Sella dei Due Corni (15-25 minutes)
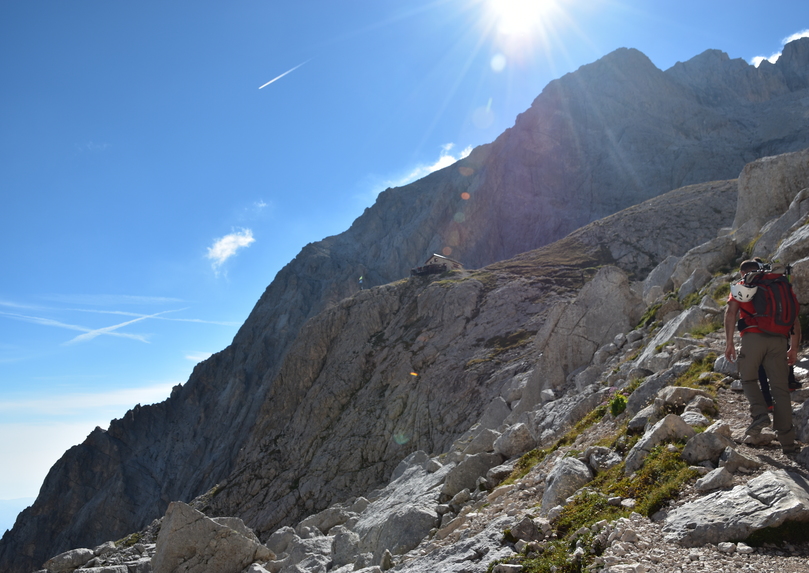
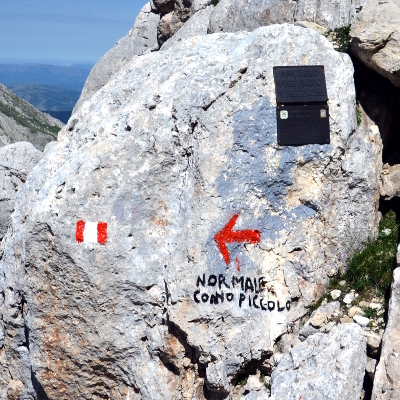
From the rifugio (fig. 3), take the path uphill right in front of it, leading up to the col between the two 'horns'. Until early summer, you're likely to have to walk across patches of snow in this section. Shortly before the col, there is a fork, right to the Corno Piccolo, left to the Corno Grande (both directions clearly marked) – go right (fig. 4). From this point onwards, the "Corno Piccolo" experience begins - wave goodbye to the crowds.
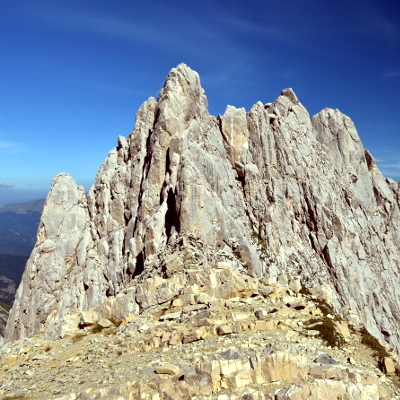
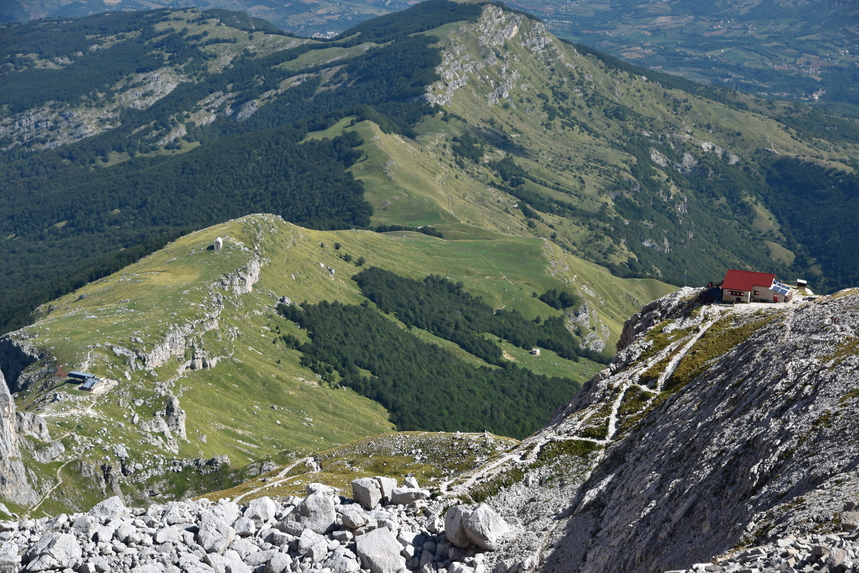
When you reach the col, stop to admire the views. The vertical spires of sheer rock of the Corno Piccolo (known as "fiamme di pietra" / "flames of stone") form an ideal photo background (fig. 5). From here you can also see the rifugio down below, as well as the path to it that you walked on earlier (fig. 6).
Stage 3: from the Sella dei Due Corni to the start of the "via normale" (15-25 minutes)
From the Sella, you'll now be walking downhill for a while, into the Vallone dei Ginepri (ginepro = juniper) and around the base of the Fiamme di Pietra, which you'll keep to your right. The environment quickly changes - wilder and with far fewer people around. The path down is steeper, too, and the scree makes it a bit slippery. At one point you'll get to a metal place on the rock indicating the beginning of the "Ventricini" path (fig. 7), a via ferrata that continues to go round Corno Piccolo and eventually back to "La Madonnina". This section of the "Ventricini" path, however, is easy (no steel cable) and leads to the start of the "via normale" further down. But before that, you'll notice the start of another via ferrata, called "Via Danesi" (fig. 8) - this is a demanding ferrata leading to the summit much more directly than the "via normale" you'll be doing.

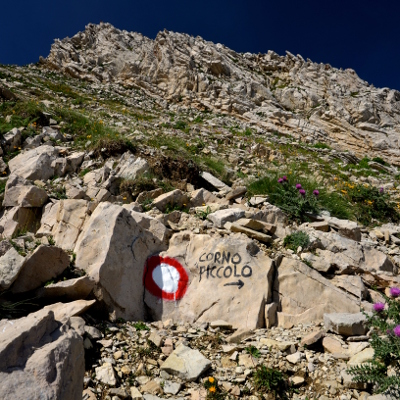
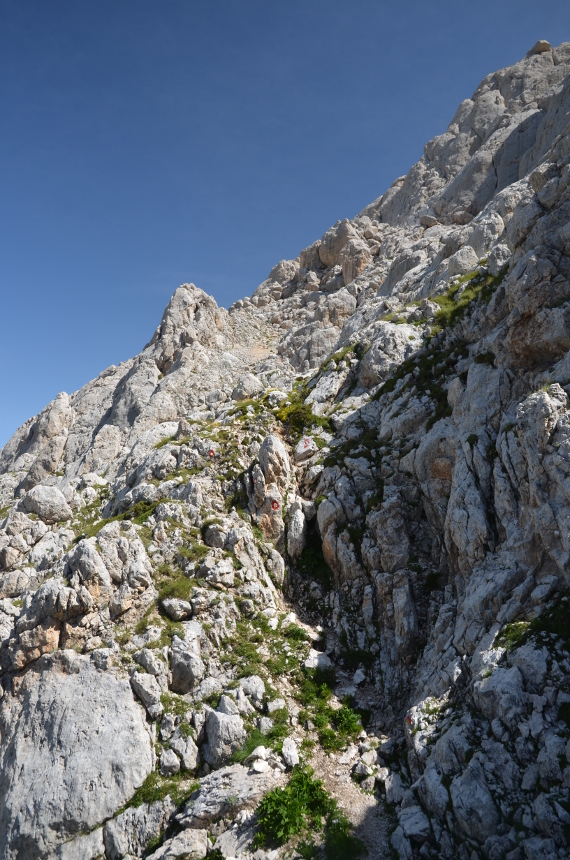
To get to the start of the via normale, you need to keep walking downhill for a few more minutes. You will leave the "Ventricini" path you're currently on and take a definite right turn, where the via normale begins. It will feel like a sudden change: you'll now be walking on a much narrower path, no longer downhill and, especially, requiring considerably more attention. From this point onwards, following the red-and-white circular marks is of crucial importance. Fig. 9 below shows the kind of terrain you're on - it is very important that you're always confident you can see at least one more waymark ahead of you before proceeding.
Stage 4: from the start of the "via normale" to the summit (45 minutes - 1 and ¼ hours)
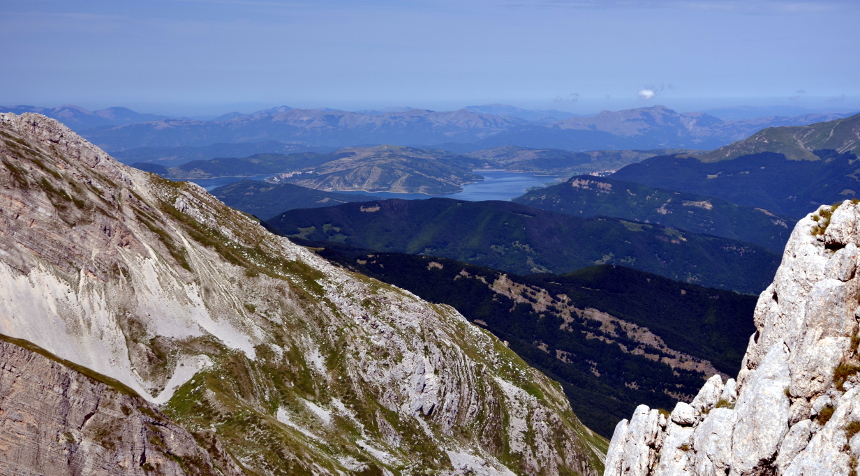
Continuing to pay attention to where the waymarks are, you'll be climbing up roughly in a southward direction. At two points during the scent you will have to climb down a little. The first is easier, but the second is more demanding and it is better to climb down with your body turned around and facing the rock (so, moving backwards), as this will give you more stability. The environment around you is very rocky, rugged and raw, almost intimidatingly so. The views are spectacular (fig. 10).
At one point, you'll notice a small natural bridge (more like a hole, really) formed by a rock resting at an angle (fig. 11). You'll have to scramble steeply up to it and then crawl under it (you might have to push your rucksack through first!).

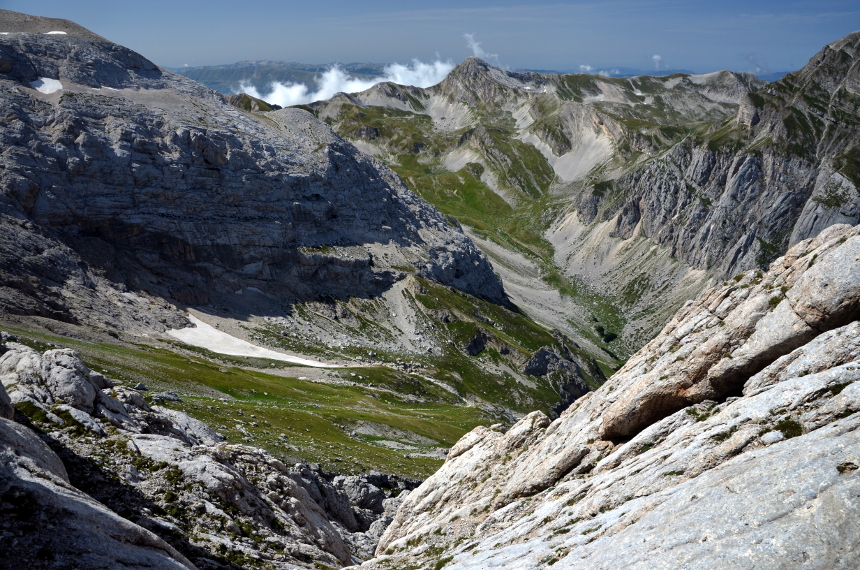
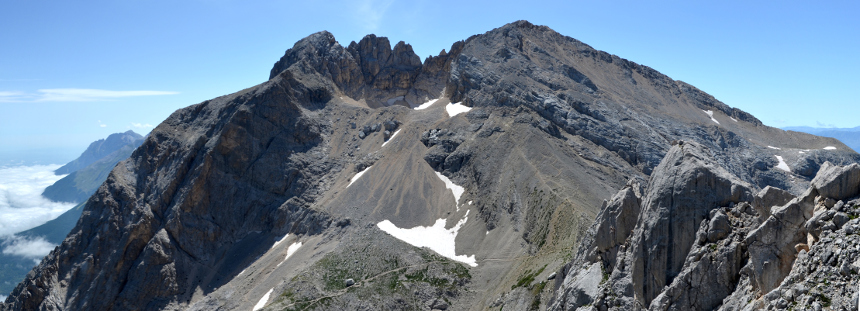
After you've gone through the hole, you're minutes away from the main shoulder of Corno Piccolo, from which magnificent views will suddenly appear (figs 12 and 13).
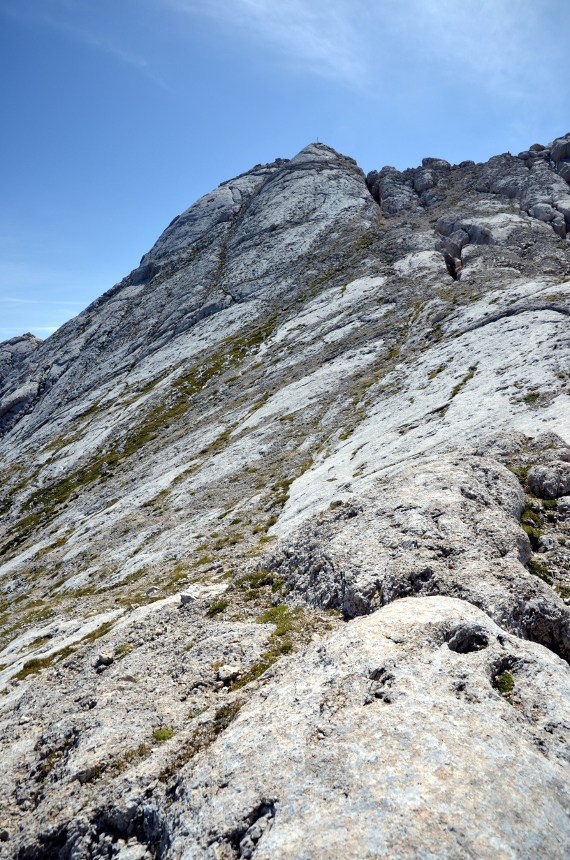
From the shoulder, you're a few minutes away from the summit (you can see the cross on it), which you'll reach by walking up the final slope to your right (fig. 14).
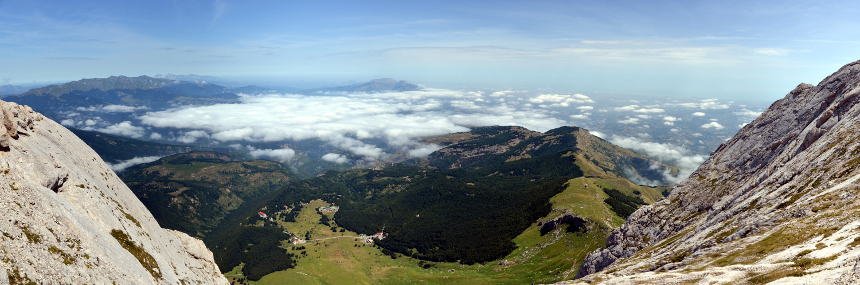
From the summit, you have 360º views over the sea, hills and mountains around (figs 15 and 16).

To return to the start of the walk, retrace your steps. Pay particular attention when you climb down through the hole - it's very steep and you'll be much more stable if you face the rock and move backwards.